
5 Minute Revit Schedules Workflow for Design Teams


Revit schedules are live, tabular views of your model that update automatically as elements change. The fastest way in is View > Schedule/Quantities, picking a category and building a Building Component Schedule. Add the fields you need, then drag that schedule onto a sheet, because most formatting only reveals itself once it sits in print layout.
TL;DR:
Select only the necessary fields when creating a schedule to avoid wasting time deleting unwanted data later.
Different schedule types serve specific purposes, such as building component lists, material takeoffs, or documentation tracking.
Format schedules with conditional coloring and stripe rows to improve readability and usability for quality control and client presentation.
Use sorting, grouping, and totals to make large schedules clear and functional for procurement and coordination tasks.
Build schedule standards into project templates and view templates to ensure consistency and save time across multiple projects.
Table of Contents
How Do You Create a Revit Schedule Step by Step?
Building your first schedule takes five minutes once you know the sequence. The trap most people fall into is adding every available field out of caution, then spending twenty minutes deleting the ones nobody asked for.
Here’s the workflow that avoids that:
Go to View > Schedules > Schedule/Quantities, then select your category (Doors, Rooms, Walls, whatever the deliverable calls for).
In the New Schedule dialog, name it something a contractor will actually understand, not “Schedule 3.”
On the Fields tab, add parameters in the order you want them to read left to right. If a field you need doesn’t exist, use Add Parameter to create a project parameter on the spot.
Add calculated values for anything Revit can derive but doesn’t track natively, like combining Width and Height into a single “Size” string, or multiplying Area by a cost-per-square-foot parameter to get a rough budget figure. This is also where you combine parameters, such as concatenating Type Mark and Level into one readable identifier.
Drag the schedule from the Project Browser onto a sheet. This is the point where headers, gridlines, and stripe rows actually become visible.
CADnotes’ walkthrough on creating and configuring schedules is worth bookmarking if you want side-by-side screenshots for each of these steps.
Pro Tip: Build your calculated values before you touch formatting. Chasing decimal points on a field you later delete wastes more time than any other scheduling mistake.
What Are the Different Types of Revit Schedules?
Not every schedule serves the same purpose, and picking the wrong type is the most common reason schedules feel like they’re fighting you. Revit supports several primary schedule types, and knowing which one to reach for saves a redo later.
Building Component Schedules list every instance of a category (every door, every window). This is your default for quantity takeoffs and hardware lists.
Key Schedules work backwards from that. They set default property values, like a “Finish Key” that assigns wall base, paint, and flooring type once, then applies to every room you tag with that key.
Material Takeoffs break elements down by material rather than by instance, useful when you need square footage of a specific finish across a whole floor rather than a count of components.
View and Sheet Lists track your own documentation set, not model geometry, which makes them the fastest way to audit a set before issue.
Note Block Schedules pull from generic annotations, handy for keynote legends that need to stay synced with tags in the field.
The Autodesk Help documentation on schedule types covers the full list if you’re setting up a category you haven’t scheduled before.
How Do You Format a Schedule So It’s Actually Readable?
Formatting is where most schedules go from “functional” to “something you’d hand a client.” All of it lives inside the Schedule Properties dialog, accessed by right-clicking the schedule or hitting the Properties button while the schedule view is active. The five tabs, Fields, Filter, Sorting/Grouping, Formatting, and Appearance, each control a different layer of how the data displays.
A few moves matter more than the rest:
Conditional formatting lets you flag values automatically, like highlighting any door width under 32 inches for accessibility review, which turns a schedule into a QC tool instead of a static list.
Stripe rows (alternating row shading) make long schedules far easier to scan, especially in longer schedules.
Field formatting controls units, decimal precision, and whether a field shows totals, and you can hide fields used only for sorting so they don’t clutter the printed output.
Header edits, including merging cells, inserting blank rows for spacing, and adding a firm logo as an image, all happen through the Appearance tab.
One detail catches nearly everyone off guard: many formatting changes are invisible in the schedule view itself and only appear once the schedule sits on a sheet. If your stripe rows or conditional colors aren’t showing up while you edit, that’s expected, not broken.
Sorting, Grouping, and Totals: Making Data Mean Something
Raw schedule data without sorting is just a dumped list. The Sorting/Grouping tab is where a schedule turns into a document someone can actually use for procurement or coordination.
Set Sort By and up to three Then By fields, so a door schedule might sort first by Level, then by Type Mark, giving you a clean, predictable read order.
Decide whether to itemize every instance or check “Itemize every instance” off, which collapses identical elements into a single row with a count. Itemize when a contractor needs to track each unit individually; collapse when you only need quantities for ordering.
Add headers and footers per sort group, and insert a blank line between groups so a printed page doesn’t blur one level into the next.
Turn on Grand Totals and, where useful, per group totals, so a 200 row door schedule tells you the total count without manual math.
The Autodesk Help guide on sorting and grouping fields covers the underlying mechanics in more depth, including how group footers behave differently from grand totals.
How Do You Manage Long Schedules Without Losing Your Mind?
A 300 row equipment schedule prints differently than it edits, and that gap trips up even experienced teams. The fix is to tile your schedule view next to the sheet view while you work, so header merges, font sizes, and conditional formatting show their real printed appearance immediately instead of after three trial prints.
Split a long schedule across multiple sheets using the schedule’s own split instance controls, rather than duplicating the whole schedule and manually filtering each copy.
Use consistent stripe row shading across split sections so a reader flipping between sheets doesn’t lose their place.
Once the schedule behaves like any other view, it drops onto a sheet, prints, and exports through the standard PDF or DWG workflow, no separate export tool required.
If a consultant needs raw numbers rather than a formatted view, export the schedule to a spreadsheet format for further manipulation outside Revit.
The Revit Sheet Setup Checklist walks through sheet composition details that pair well with this, particularly around title block coordination when a schedule spans several sheets.
Building Schedule Standards Into Your Project Templates
Manually reformatting a door schedule on every new project is the kind of repetitive task that quietly eats a week per year across a firm. The fix is building your formatting defaults, fonts, gridlines, header layout, stripe rows, into the project template itself, so a new schedule inherits your office standard the moment it’s created.
View templates extend that same logic to schedules directly. Apply one, and you lock in visibility settings, filters, and sort order across every schedule that uses it, so a junior team member can’t accidentally break the format on a live project.
A short checklist worth keeping in every office template:
Standard field order for common categories (doors, windows, rooms, finishes)
Pre built calculated values for recurring needs, like combined size strings
Conditional formatting rules already set up for common QC flags
A view template assigned by default to new schedules of each type
S15studio’s project-based courses walk through setting these standards up firsthand, and the Worksharing course covers how template consistency holds up once multiple people are editing the same model.
Pro Tip: Build one “master” schedule per category in your template with every field you might ever need, then duplicate and trim for each new project instead of building from scratch.
Connecting Schedules to the Rest of Your Project Data
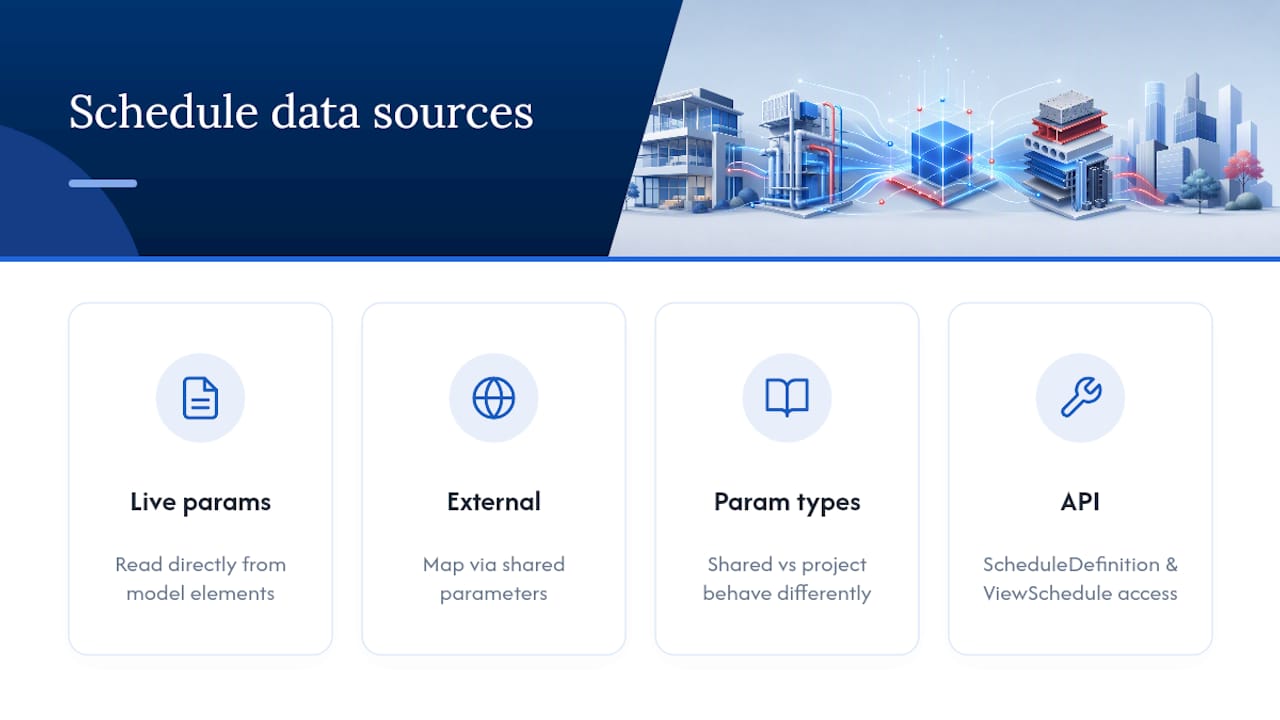
A schedule is only as useful as the parameters feeding it, and that’s where scheduling starts to overlap with broader data management on a project. Every schedule reads live from model elements, so a parameter added through a manufacturer’s Revit family, a shared parameter file, or a linked model instantly becomes available as a schedule field. That’s different from a static spreadsheet, where someone has to remember to update the numbers by hand.
This matters most on projects pulling data from outside Revit entirely. Teams increasingly tie schedules to cost databases, specification systems, or facilities management platforms by mapping shared parameters that both Revit and the external system recognize. A door hardware set defined once in a specification tool, referenced through a shared parameter, shows up correctly in the door schedule without duplicate entry.
The Revit Project Parameters guide breaks down how shared versus project parameters behave differently once you’re feeding data in from outside sources, which is worth understanding before you build a schedule meant to sync with an external database.
For advanced or scripted customization, Revit’s own API exposes properties like ShowGrandTotal, ShowGridLines, ShowHeaders, and UseStripedRowsOnSheets through the ScheduleDefinition and ViewSchedule classes. Firms running Dynamo or custom add-ins use these to batch-generate or reformat schedules across dozens of projects at once, well beyond what the standard UI handles efficiently.
Schedules as Your First Line of Defense Against Bad Data
The habit that separates a clean model handover from a messy one isn’t better modeling. It’s checking the model constantly through schedules instead of waiting for a clash report to catch what a schedule would have flagged in seconds.
Schedule a door category and sort by Hardware Set. Blank cells jump out immediately, no clash detection required. Schedule Room Area next to Room Name and catch a zero-area room before it ends up on a client deliverable. These checks take under a minute and catch problems long before coordination meetings, when fixing them costs far less time and far less credibility.
— Steve
Master Revit Schedules With Structured, Project-Based Training
Reading through a workflow like this gets you moving, but building the muscle memory for fast, print-ready schedules on a live deadline is a different skill, and it’s exactly what S15studio’s courses are built around.

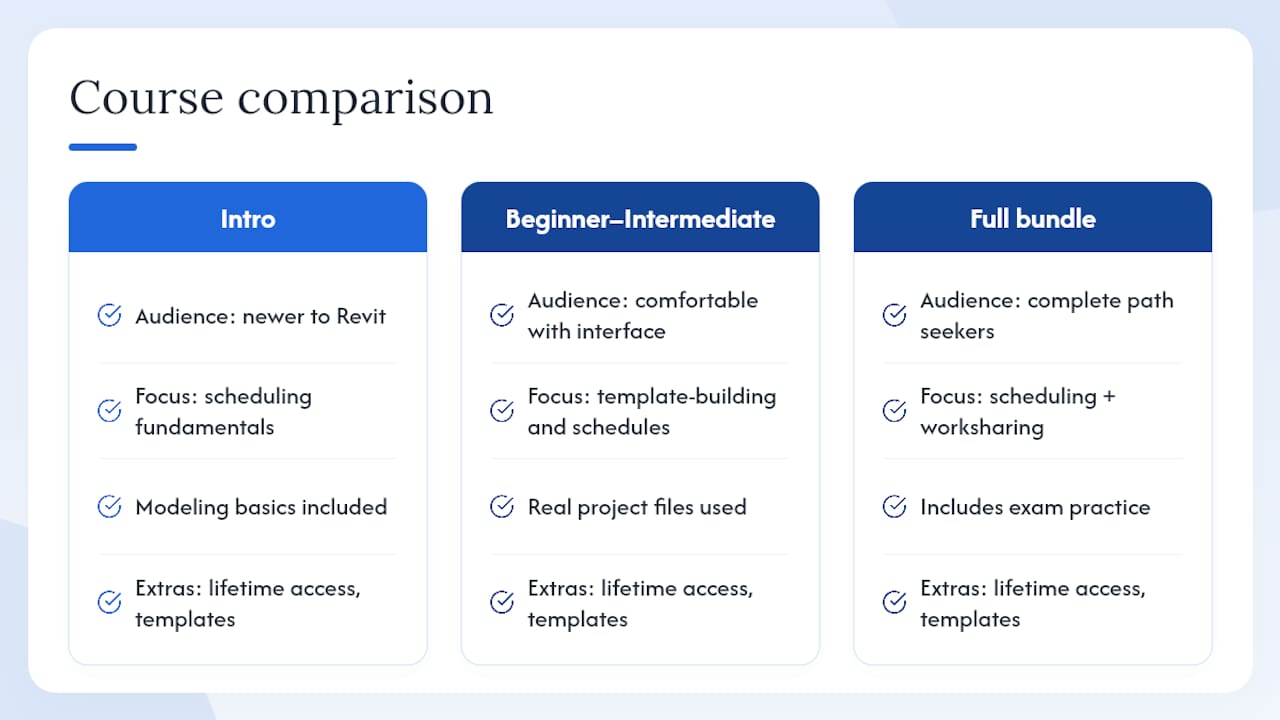
If you’re newer to Revit, the Introduction course covers scheduling fundamentals alongside the modeling basics that make schedules make sense in the first place. Already comfortable with the interface and ready to build real office standards? The Beginner to Intermediate course works through template-building and schedule workflows using real project files, not throwaway exercises. Every course comes with lifetime access to materials, downloadable templates you can adapt for your own office, and direct trainer support when a schedule setup isn’t behaving the way the documentation says it should.
For the most complete path, including certification prep, the full Revit and AutoCAD training bundle bundles scheduling, worksharing, and exam practice into one structured track. Start there if you want schedules, templates, and certification handled in a single course of study.
Where to Go Deeper on Revit Schedules
For the official mechanics behind everything covered here, Autodesk’s own documentation remains the most reliable reference. Start with About Schedules for the type overview, then Edit a Schedule for property-by-property detail on the dialog itself.
Sources
Recommended
Comments