
Revit Detail Level Explained: A Guide for Architects


In Autodesk Revit, a detail level is a view-specific parameter that controls how much geometry each element draws on screen. Every view has exactly three options: Coarse, Medium, and Fine. That setting lives per view, meaning your floor plan can run at Coarse while a wall section next to it runs at Fine. You can set it manually, lock it through a View Template, or let Revit assign a default based on view scale through project settings.
The three built-in settings at a glance:
Coarse — simplified geometry, single-line walls, structural framing as sticks
Medium — compound structures visible, more geometry per element
Fine — full geometry, maximum family detail, best for close-up documentation
Table of Contents
What is Revit detail level? How each setting renders common elements
The difference between levels is most obvious in walls, structural framing, and component families. Compound wall structures display their individual layers only at Medium and Fine; at Coarse, Revit draws a single simplified outline. Structural framing shows as a centerline stick at Coarse, then switches to full modeled cross-section geometry at Medium or Fine.
Element | Coarse | Medium | Fine |
Basic wall | Single outer boundary | Core and finish layers visible | All layers with full line weights |
Compound wall | Simplified outline | Layer structure shown | Full layer detail |
Structural framing | Centerline stick | Modeled cross-section | Full profile with connections |
Door / window family | Simplified 2D symbol | Intermediate geometry | Full swing, frame, and hardware |
Floor / roof | Single fill region | Layer breakdown | All layers and edge conditions |
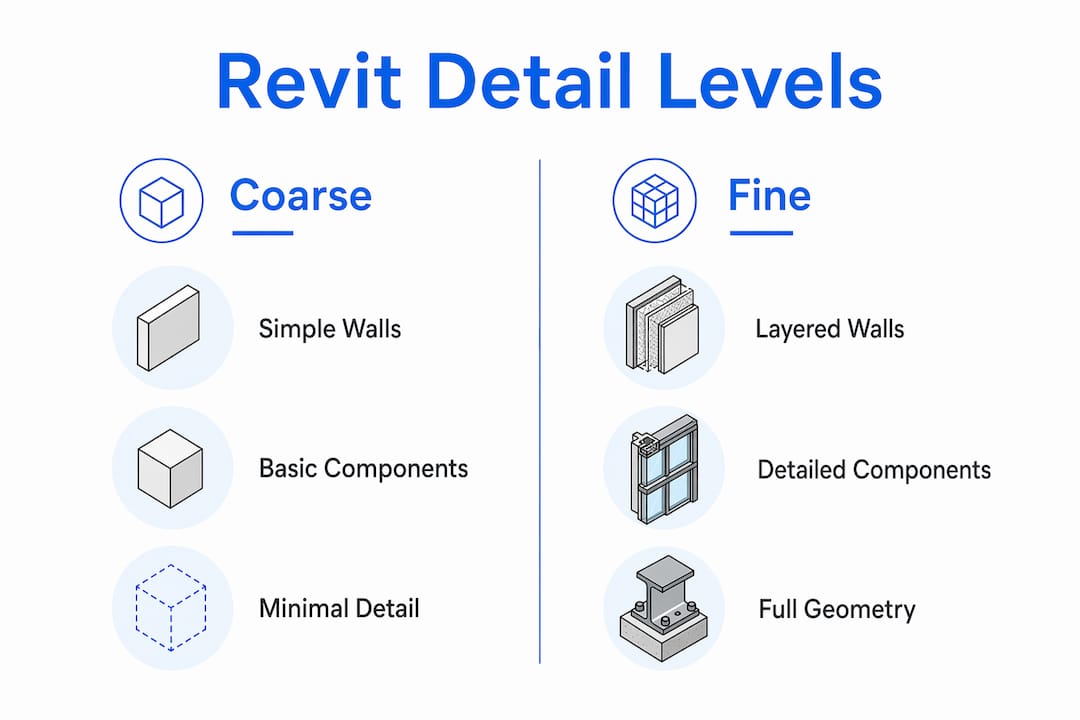
In 3D views, the same logic applies: Coarse keeps the model light and fast, Fine shows every modeled edge. For 3D section box views, running Fine on a large model can noticeably slow navigation.

Pro Tip: Set your default 3D view to Coarse or Medium during design development. Switch to Fine only for the specific 3D callouts you are placing on sheets.
How do you change the detail level in a Revit view?
Three UI paths do the same job; pick whichever fits your workflow:
View Control Bar — the row of icons at the bottom of any active view. The detail level icon (the small square with lines) is the fastest toggle. Click it and choose Coarse, Medium, or Fine. This is the quickest method for a one-off change.
Properties palette — with the view active and nothing selected, scroll to the Graphics group. The Detail Level parameter is there as a dropdown.
View Template — if a template is assigned, the Detail Level parameter inside that template overrides your manual setting. Edit the template (Manage > View Templates) or un-include the Detail Level parameter to restore manual control.
For project-wide defaults, go to Manage > Additional Settings > Detail Level. That dialog maps view scales to default detail levels so that any new view created at 1/8" scale, for example, opens at Coarse automatically.
Pro Tip: Before editing a view’s detail level, check whether a View Template is assigned. If the control is grayed out, that is almost always the reason.
Why does a family ignore the view’s detail level?
Revit’s three detail levels are hard-coded into the platform; you cannot add a fourth. What you can control is what geometry each family draws at each of those three levels. That control lives inside the Family Editor, under the Visibility Settings for each piece of geometry.
When a family looks identical at Medium and Fine, the cause is almost always missing visibility assignments rather than a view problem. Common scenarios:
Geometry was modeled but never assigned to a specific detail level, so it appears at all three.
Detail geometry exists only as symbolic lines, which are 2D and do not respond to level changes the way 3D geometry does.
Subcategory assignments are wrong, causing geometry to be hidden by category visibility rather than detail level.
To check: open the family in the Family Editor, select a piece of geometry, and click Visibility Settings in the Properties panel. The dialog shows checkboxes for Coarse, Medium, and Fine. Uncheck the levels where that geometry should not appear. For clarity at small scales, add symbolic lines assigned only to Coarse rather than duplicating 3D geometry. For deeper guidance on how detail components and symbolic lines work together, that distinction matters when authoring families from scratch.
Pro Tip: Always test a new family at 1/8", 1/4", and 1" scales before loading it into a project. Problems that are invisible at Fine often surface immediately at Coarse.
When should you use each detail level?
The short answer: match detail level to the purpose of the view, not to personal preference.
BIM managers use detail levels to balance model performance with documentation clarity, keeping heavy geometry out of broad plan sets and reserving Fine for assembly and detail sheets. That discipline keeps large project files responsive.
View type | Recommended level | Reason |
Site plan | Coarse | Minimal geometry, fast redraw |
Schematic floor plan | Coarse | Massing focus, no layer clutter |
Design development plan | Medium | Compound walls readable, families legible |
Construction document plan | Medium | Standard working drawing clarity |
Detail / assembly view | Fine | Full geometry needed for dimensions |
3D presentation view | Medium | Balance between clarity and speed |
High-detail geometry increases file size and redraw time. For linked models or views placed on large sheets, Coarse is the right default. Visibility/Graphics overrides let you push specific categories to a different display without changing the whole view’s detail level, which is useful when one category needs more clarity than the rest of the view warrants.
Why is the detail level control grayed out or not working?
The most common problems and their fixes:
Grayed-out control: A View Template is enforcing the Detail Level parameter. Go to Manage > View Templates, find the assigned template, and either change the Detail Level value there or uncheck the “Include” box next to Detail Level to return manual control to the view.
Element looks the same at Medium and Fine: The family has no additional geometry assigned to Fine, or the scale difference between the two views masks any change. Open the family in the Family Editor and check Visibility Settings for each geometry piece.
Detail level changes but nothing updates on screen: Confirm the view is not in a linked model. Detail level in a linked Revit file is controlled by the host view’s settings for that link, not by the linked file’s own view settings.
For category-level exceptions, use Visibility/Graphics (V/G) overrides rather than editing every family. It is faster and carries no risk of breaking family behavior in other views. Common Revit modeling mistakes often trace back to skipping this step and editing families directly instead.
How to change a view’s detail level: step by step
Open the view you want to change.
Look at the View Control Bar at the bottom of the view. Click the detail level icon (it looks like a small rectangle with horizontal lines).
Select Coarse, Medium, or Fine from the menu.
If the icon is grayed out, check the Properties palette for an assigned View Template. Edit or un-include the Detail Level parameter in that template.
Confirm the change by looking at a wall or a known family. A compound wall should show its layers at Medium; a door family should show full geometry at Fine.
For a visual walkthrough of the same steps, the S15studio YouTube channel has screen-recorded tutorials covering view control workflows.
Key Takeaways
Revit detail level is a view-specific parameter with three fixed settings — Coarse, Medium, Fine — and families must be authored correctly to respond to each one.
Point | Details |
Three fixed levels | Coarse, Medium, and Fine are hard-coded; no additional levels can be added. |
View-specific control | Each view holds its own Detail Level setting, independent of other views. |
View Templates override | A grayed-out control almost always means a View Template is enforcing the parameter. |
Family authoring matters | Families must have explicit Visibility Settings per level or they will look the same at all three. |
S15studio training | S15studio courses cover View Templates, family visibility, and documentation workflows hands-on. |
Detail level discipline is what separates clean drawings from chaotic ones
Most Revit users learn the three detail levels quickly. What takes longer is understanding that the setting is only as reliable as the families and View Templates behind it. A project where every view is set manually, with no template discipline, will drift. Someone changes a view to Fine for a quick check and forgets to switch it back. The sheet set goes out with inconsistent drawings, and nobody can explain why the floor plan looks different from the reflected ceiling plan.
The fix is not complicated. Set up View Templates that include Detail Level, map your view scales to sensible defaults in project settings, and author families with explicit visibility states for each level. That combination removes the human-error variable almost entirely.
What most guides skip is the family side of this. You can have perfect View Templates and still get inconsistent drawings if the families were loaded from a manufacturer’s library without checking their visibility settings. Always audit new families before they go into a project standard.
Level up your Revit documentation skills with S15studio
Knowing the theory behind detail levels is one thing. Applying it confidently across a full project set, with families that behave correctly and View Templates that hold, is where real speed comes from. S15studio’s Revit intermediate course covers exactly this: family visibility authoring, View Template setup, and the documentation workflows that keep drawings consistent from schematic through construction documents.

If you are preparing for the Autodesk Certified User exam, the Revit ACU exam prep course includes detail level, view properties, and family behavior as core topics. Both courses are project-based and built for architects and architectural technicians who want to work faster with fewer errors.
Useful sources and further reading
Detail Levels — Autodesk Help (Revit Customize) — primary reference for how element categories respond to each level
View Properties — Autodesk Help — covers Detail Level as a view instance parameter
About Detail Levels and Display of Structural Components — Autodesk Help — structural framing behavior at each level
Detail Levels in Revit — Revit.news — community overview of the three fixed levels and family authoring guidance
Setting Detail Levels for Section Views in Revit — VDCI — practical walkthrough for section view settings
S15studio Revit training courses — hands-on courses covering families, View Templates, and full documentation workflows
Recommended
Comments