
Trainer Checks for Revit Rooms and Areas: Room Bounding


Rooms and Areas solve two different problems, and using the wrong one wastes hours. A Room is a plan-view, boundary-dependent element that calculates area, perimeter, and volume for a single enclosed space, feeding room schedules and tags. An Area lives inside an Area Plan under an Area Scheme and reports building-level totals like gross or rentable square footage. If you’re tagging apartments or coordinating finishes, use Rooms. If you’re producing a landlord area statement, use Areas.
TL;DR:
Areas are manually drawn boundaries in dedicated Area Plans that report building-wide totals like gross or rentable square footage, unlike Rooms which depend on physical walls.
Creating and verifying correct boundaries for Rooms requires checking Room Bounding parameters and ensuring walls are properly enclosed, especially with sloped ceilings or partial partitions.
Using separate workflows for Room and Area data prevents errors when calculating occupancy detail versus building-area summaries for leasing, code, or management.
Triangulation reports help visualize complex spaces with curves or exclusions, while numerical reports are faster for straightforward rectangular rooms.
Proper placement, boundary validation, and phase assignment are crucial for accurate Room and Area reports, especially when models involve linking or phased projects.
Table of Contents
What Is a Room in Revit?
A Room in Revit is a calculated subdivision of space, not a physical object. It exists only because model geometry, mainly walls, floors, roofs, and ceilings, encloses it, and Revit reads those surfaces to work out area, perimeter, and volume automatically.
You can only place a Room in a floor plan view, never in a section, elevation, or 3D view. Revit gives you two placement methods: click individually with the Room tool, or use “Place Rooms in All Enclosed Regions” to batch-place across a whole floor. Rooms can also be added to a schedule before they exist physically in the model, letting you plan occupancy early and insert the room once walls go up.
A few mechanics decide whether your numbers are trustworthy:
Computation height sets the elevation Revit uses to measure area, which matters when ceilings slope or partitions stop short of full height.
Room Bounding is a parameter on walls, floors, and other elements; if it’s off, that element won’t contain the room.
Room Separation Lines substitute for a missing wall when you need a boundary that doesn’t exist physically, such as splitting an open-plan office into two departments.
What Is an Area in Revit?
Areas answer a different question entirely: how much space does this building occupy, and how does that number get split for billing, code compliance, or leasing? An Area is a subdivision defined inside an Area Plan, and every Area Plan belongs to an Area Scheme, such as Gross Building Area or Rentable Area.
Creating one starts with a dedicated view. You build the Area Plan itself first. Choose the scheme and level, then sketch Area Boundaries before placing a single Area element. Unlike Rooms, which lean on walls automatically, Areas need boundaries you draw on purpose.
Key structural points worth knowing:
Area Types carry the measurement rules that decide what counts toward the total for a given scheme.
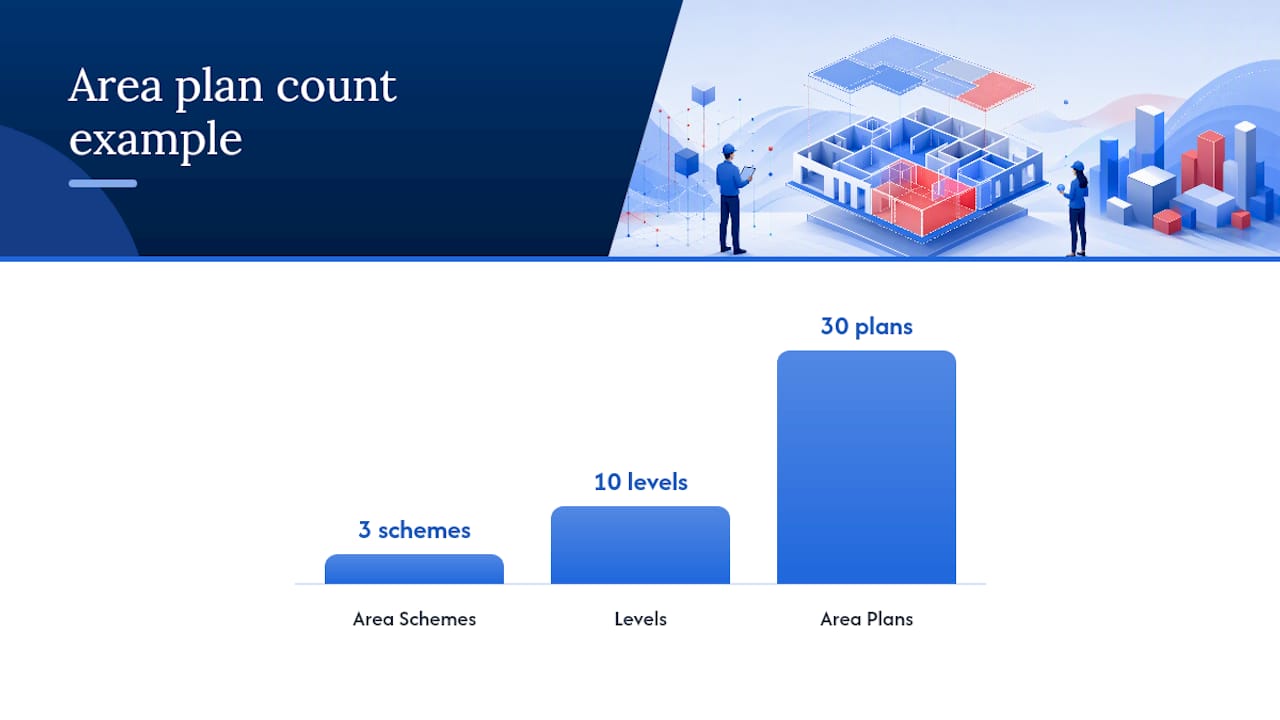
Each scheme gets its own branch in the Project Browser, organized by level, so a building with three schemes and ten floors can have thirty distinct Area Plans.
Areas are entirely view-specific. Changing one Area Plan’s boundaries never touches another scheme’s numbers, which is exactly why property managers and architects can run different area logic side by side without conflict.
Rooms vs. Areas: A Decision Checklist
Here’s the fast version, side by side:
Factor | Rooms | Areas |
Placement view | Floor plan only | Dedicated Area Plan |
Scope | Single enclosed space | Building or scheme-wide totals |
Boundary source | Walls, floors, ceilings, roofs | Manually drawn Area Boundaries |
Typical output | Room schedule, tags, MEP loads | Gross/rentable area report |
Phase sensitivity | Follows room phasing settings | Follows Area Plan’s assigned phase |
Use this order to pick the right tool for a given task:
Ask what the number is for. A leasing statement or code-required gross area calculation points to Areas. A finish schedule, occupancy tag, or HVAC load calculation points to Rooms.
Check who reads the output. Facilities managers and landlords usually want a single scheme-wide figure. Design teams and MEP consultants want room-by-room detail.
Consider whether the space needs a physical boundary. Rooms depend on real or separation-line boundaries tied to the model. Areas can be sketched independently of any wall, which suits leasing lines that cut across open floor plates.
A residential project tagging kitchens, bedrooms, and bathrooms for a finish schedule is squarely a Room job. A commercial building calculating rentable square footage for ten tenants across five floors is squarely an Area job, and trying to force one element to do both usually ends in a rebuild.
Pro Tip: Keep Room data and Area data in separate workflows even when they describe the same building. Trainers who’ve watched this go wrong report that forcing Rooms to double as leasing Areas breaks the moment a tenant boundary doesn’t line up with a wall.
How to Create Rooms and Areas in Revit: Step by Step
Creating Rooms:
Open a floor plan view. Rooms cannot be placed anywhere else.
Go to Architecture > Room, then click inside a closed, bounded space, or use the batch placement option for an entire floor.
Verify that the elements you expect to bound the room actually have Room Bounding turned on. Furniture and some partition types default to non-bounding, and a room that “leaks” past its intended edge almost always traces back to this setting.
Set the computation height in Room and Area Settings if the ceiling slopes or the space has a partial-height partition.
Tag the room and add it to a schedule for area, perimeter, and volume reporting.
Creating Areas:
Go to Architecture > Area > Area Plan, pick the Area Scheme and level, and confirm creation.
Draw Area Boundaries along the lines that define the scheme’s logic, tenant demising walls, gross exterior faces, whatever the scheme calls for.
Place Area elements inside each boundary, or predefine them in an area schedule the way you would with unplaced Rooms.
Apply a color-fill scheme to visually check that boundaries close correctly, then tag and export.
A few checks catch most beginner mistakes before they cost real time:
Turn on the Room/Area category in Visibility/Graphics if boundaries aren’t showing.
If a room won’t calculate, look for a gap in the enclosing walls first, then check Room Bounding on nearby elements.
Add a Room Separation Line for any boundary that doesn’t have a physical wall, and note why in your project standards document.
For phased projects, confirm each Room or Area Plan is assigned to the correct phase. A room placed on the wrong phase will either vanish or double up in schedules.
With linked models, remember Rooms and Areas can’t bound against elements in a link unless you use Room Separation Lines or explicitly host them, so cross-model coordination needs its own boundary lines.
Reports, Schedules, and Exports for Rooms and Areas
Revit generates two kinds of Room/Area reports: triangulation and numerical integration. Triangulation produces an annotated boundary image broken into sub-areas, useful when a space has curves, islands, or exclusions that a plain number can’t explain. Numerical integration skips the graphics and just lists segment measurements and totals, which is faster for straightforward rectangular rooms.
Both export to HTML, making them easy to attach to a compliance package or a client handover. Pair either report type with your room or area schedules for a quality-control pass before submission.
Trainer-Led Best Practices for Rooms and Areas
Most Room and Area problems trace back to a handful of habits, not Revit bugs. Check the Room Bounding parameter on anything you expect to act as a boundary. Autodesk itself flags that automatic bounding is convenient but fragile, and furniture or partial-height partitions are common offenders.
Use Room Separation Lines sparingly, and log where you’ve placed them. A model with separation lines scattered without documentation becomes a maintenance headache for whoever inherits it. Adjust computation height whenever ceilings slope; skipping this step is the single most common cause of usable-area figures that don’t match reality.
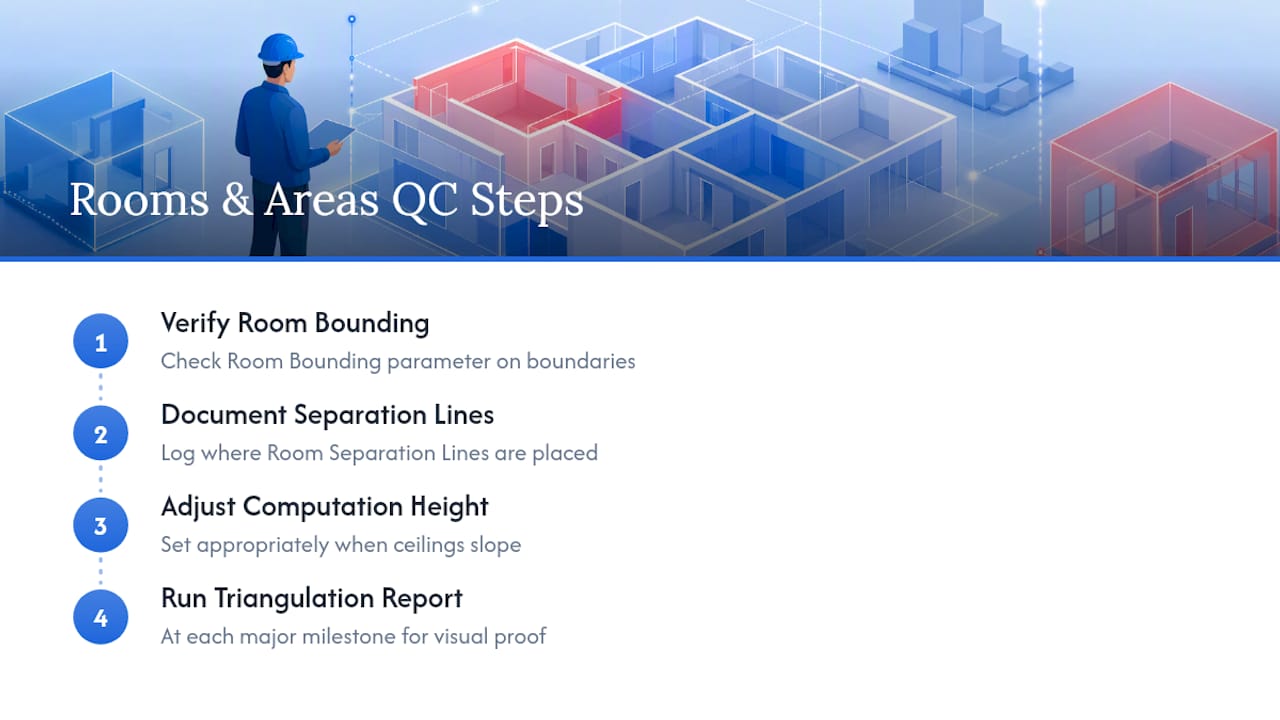
Pro Tip: Run a triangulation report at each major milestone on complex floors. It takes minutes and gives you a visual record proving your area numbers held up, which matters when a client questions a rentable square footage figure months later.
What Learners Get Wrong About Rooms and Areas
Most students forget the plan-view requirement in their first week, then wonder why a Room tool click in a 3D view does nothing. Others place a Room correctly but skip checking Room Bounding, and end up with a space that reports zero area because nothing around it registers as a boundary.
Reading documentation only gets you halfway. Placing, tagging, and reporting a Room or Area on a real small project fixes the misunderstanding faster than any amount of rereading ever will.
— Steve
Learn Rooms and Areas Through Real Project Work
Reading through Room Bounding settings and Area Scheme rules gets you the theory. Getting it to stick takes a project where you actually place rooms, fix a leaking boundary, and run a report that has to be right. S15studio builds courses around exactly that kind of practice instead of passive video watching.

The Revit Course Only covers beginner-through-advanced workflows, including Room and Area exercises alongside broader modeling and documentation skills. Current prices are on the pricing page. If you want a smaller, faster entry point first, the Revit Introduction gets you hands-on with core tools quickly. Current prices are on the pricing page. Both include project files, trainer feedback, and access to materials, helping you refresh skills as needed. Pick the course that matches where you are and start the next lesson today.
Where to Learn More About Rooms and Areas
Autodesk’s own help pages remain the best reference for exact tool behavior: see the guidance on Rooms and area plans and schemes. For step-by-step video walkthroughs, browse the S15studio YouTube channel.
FAQ
How Do I Get the Area of a Room in Revit?
Place a Room using the Room tool in a floor plan view, then add it to a room schedule, which displays area, perimeter, and volume automatically. If the reported area looks wrong, check that surrounding walls or floors have Room Bounding turned on.
What Is the Difference Between a Room and an Area in Revit?
A Room calculates area, perimeter, and volume for one enclosed space and lives in a standard plan view. An Area belongs to an Area Plan under an Area Scheme and handles building-level totals like gross or rentable square footage.
How Do I Define Areas in Revit?
Create an Area Plan under Architecture > Area, select an Area Scheme and level, then sketch Area Boundaries before placing Area elements inside them. Each scheme gets its own branch in the Project Browser, so you can run several area logics on the same building without conflict.
How Do I Determine Total Area in Revit?
For room-level totals, add Rooms to a schedule and let Revit sum area across the fields. For building-level totals, use an Area Plan and export a Room/Area report in either triangulation or numerical integration format for a full breakdown.
How Much Does the S15studio Revit Course Cost?
The Revit Course Only covers beginner through advanced workflows including Rooms and Areas. A shorter Revit Introduction is available as a quicker starting point. Current prices are on the pricing page.
Recommended
Comments