
AutoCAD Gradient Fill Explained for Architects and Designers


A gradient fill (technically a gradient hatch) fills a closed boundary with a smooth transition between one or two colors. You can apply one in under a minute. Select a closed boundary, open the Hatch tool with Gradient type active, pick a preset, and click inside your shape. AutoCAD handles the blending; your job is choosing colors that read well at plot scale.
Fastest path: draw or confirm a closed boundary → run HATCH, switch Type to Gradient → pick a preset swatch → click inside the object.
Fine control lives in the Hatch Editor and system variables like GFCLRSTATE, which govern how the blend behaves.
Close your boundary (polyline, region, or closed shape).
Apply the preset, then adjust colors or angle before you commit.
S15studio built this walkthrough for architects and designers who want gradients that look intentional, not decorative.
Key Takeaways
A usable gradient fill in AutoCAD depends on a closed boundary, correctly positioned color stops, and system variables like GFSHIFT that control how realistic the blend appears.
Point | Details |
Boundary must be closed | Gaps cause fills to leak or fail; use PEDIT, JOIN, or FILLET to close boundaries first. |
Stops control the blend | Custom gradients allow 2 to 10 stops, each with its own color, position, and transparency. |
GFSHIFT creates realism | Shifting symmetry with GFSHIFT turns a flat blend into a convincing light-source effect. |
Keep presentation and production separate | Put gradients on a dedicated layer and lock it before issuing construction documents. |
Practice inside a structured course | S15studio’s AutoCAD training covers gradient workflows alongside layers, plotting, and layout setup. |
Table of Contents
How to Apply a Preset AutoCAD Gradient Fill Fast
The quickest route to a usable gradient runs through the Home ribbon, and it takes fewer clicks than most people expect.
Go to Home tab > Draw panel > Hatch, or type GRADIENT on the command line.
In the Hatch Creation ribbon, set Hatch Type to Gradient.
Choose a preset from the swatch gallery, one color or two, depending on the effect you want.
Set Boundaries to Pick Points, then click inside your closed shape.
Check the preview, adjust angle or scale if needed, and press Enter to finish.
The boundary matters more than most people assume. AutoCAD’s GRADIENT command fills an enclosed area or a selected object, but a boundary with a tiny gap will cause the fill to leak or fail outright. If your polyline isn’t closed, run PEDIT and join the segments, or use FILLET with a zero radius to snap corners shut before you hatch.
Closed polylines, regions, and most closed shapes accept a gradient directly.
Text and open polylines need conversion (or boundary tracing) before they’ll hold a fill.
Keep Associative checked if you want the gradient to update automatically when you reshape the boundary later.
Pro Tip: Preview the gradient in the Hatch Editor before you click out of the command. Adjusting angle and color there takes seconds; fixing a bad fill after the fact means re-selecting boundaries and starting over.
If you’re not on the ribbon workflow, the guide at CADtuto’s gradient walkthrough covers the legacy dialog sequence step by step, including how to preview before committing.
Building a Custom Gradient: Stops, Colors, and Direction
Custom gradients are built from stops, and AutoCAD limits you to a minimum of 2 and a maximum of 10 stops per gradient.
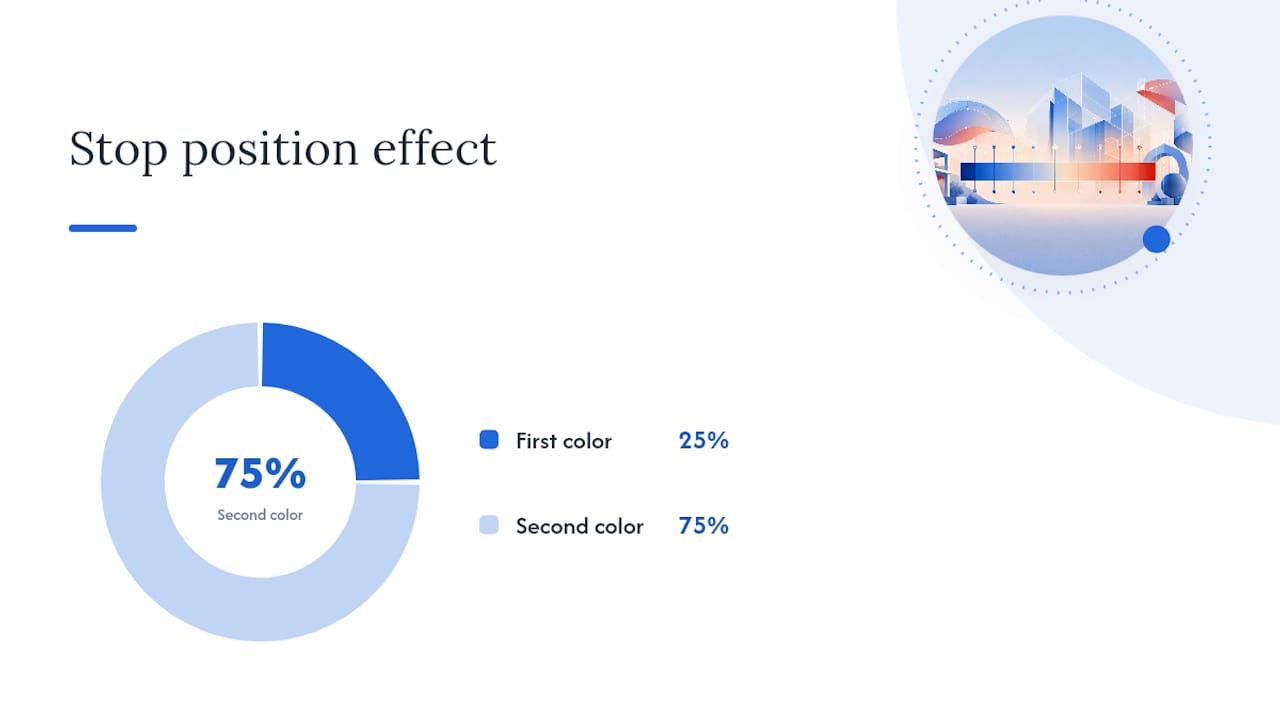
Each stop carries its own color, and you position it using a percentage slider rather than eyeballing it. Drag a stop to 25% and it shifts the transition earlier in the fill; push it to 75% and the second color dominates more of the shape.
Double-click a stop to open the color picker (ACI, TrueColor, or a color book like Pantone).
Adjust Brightness and Transparency independently per stop, not globally.
Add a stop by clicking below the gradient bar; remove one by dragging it off the bar entirely.
Direction and type change the read of the fill more than color choice does in most cases. Linear gradients suit elevations and topography bands; radial or elliptical gradients suit massing diagrams and light-source effects on plans. The Rotate with object option keeps the gradient angle locked to the object’s rotation, which matters if you copy a hatched shape and rotate it as part of a layout.
Pro Tip: Save a custom gradient once you like it, then reuse it with Match Properties instead of rebuilding stops from scratch on every sheet. That workflow mirrors how CorelDRAW users copy fountain fills between objects, and it saves real time across a multi-sheet set.
Advanced System Variables That Control Gradient Behavior
Most AutoCAD users never touch these, which is exactly why gradients on other people’s drawings often look flat or oddly artificial. A handful of system variables give you control the dialog box doesn’t expose directly.
GFCLRSTATE sets whether the gradient uses one color or two, controlling the type of blend applied.
GFCLRLUM adjusts tint and shade intensity, essentially how light or dark the blend reads.
GFSHIFT shifts the gradient’s symmetry, which is what creates the illusion of a light source hitting the shape from one side rather than a flat, centered blend.
GFANG sets the gradient’s angle, and that angle is always relative to the current UCS, not the world coordinate system.
The difference between a gradient that looks like professional shading and one that looks like a PowerPoint effect usually comes down to GFSHIFT. A centered, symmetrical blend reads as decoration. An off-center shift reads as light.
These variables persist at the drawing level, per Autodesk’s Gradient Tab documentation. Change them temporarily for one presentation sheet, then reset them. Baking a global override into your template affects every gradient you create afterward, often invisibly.
Fixing Common Gradient Fill Problems Before You Plot
Gradients that look fine on screen sometimes fall apart on paper. Run through this checklist before you send a sheet to print or PDF.
Confirm the boundary is fully closed. Run PEDIT or JOIN to fix gaps, or FILLET to snap corners.
Check the hatch’s Associative status. A non-associative hatch won’t update if you’ve since moved the boundary.
Verify layer visibility. A gradient on a frozen or off layer simply won’t plot, even if it shows on screen.
Plotting introduces its own failure points. Banding and color shifts happen most often on lower color-depth output devices, and the fix is usually straightforward according to CADtuto’s plotting notes:
Enable Plot object transparency in the plot dialog if your gradient uses transparency stops.
Test a PDF export first. PDF rendering engines handle gradients differently than a physical printer driver.
If banding persists, raise the export DPI, or rasterize the gradient as a high-resolution image before final delivery.
Best Practices for Gradients on Architectural Drawings
Gradients earn their place on presentation sheets: massing studies, topography bands, elevation shading, site diagrams. They have no place on construction or fabrication drawings, where a contractor needs unambiguous line work, not a color blend that might not survive a black-and-white print run.
Reserve subtle single-color gradients for shading and depth; save two-color presentation fills for massing or diagrammatic sheets.
Put gradient hatches on a dedicated layer such as A-Present-Grad, separate from your production layer standards, and lock or hide it before issuing construction sets.
Use named colors or explicit RGB values rather than relying on default ACI swatches, so the same gradient reads consistently across every sheet in the set.
Pro Tip: Build your go-to gradients once as a small library of saved hatches, then drop them into new projects instead of rebuilding stops and colors from memory every time.
Why precise gradient control matters for design presentation
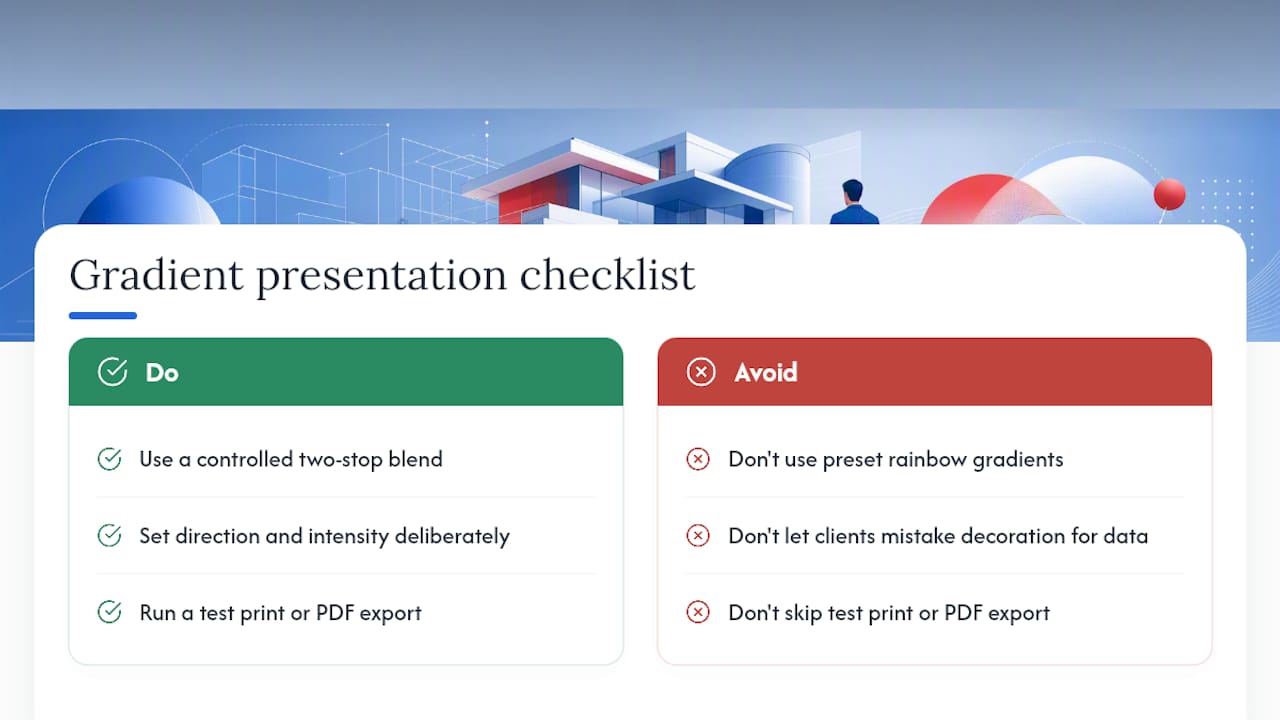
A gradient’s real job is communicating slope, mass, or light without a client mistaking decoration for data. I’ve seen plans get relegated to the “too busy” pile because a designer defaulted to a preset rainbow gradient instead of a controlled, two-stop blend. Get the direction and intensity right, and a gradient reads as intentional shading rather than clutter. Run a quick test print or PDF export before you finalize a sheet. What looks right on screen doesn’t always survive the plot.
Learn Gradient Workflows and More Inside S15studio’s AutoCAD Training
Gradient fills are one small piece of a much bigger presentation skill set, and getting the fundamentals right the first time saves you from re-learning bad habits later.

S15studio’s structured AutoCAD training walks you through presentation techniques like gradient hatches alongside layer management, plotting setup, and layout workflows, all built by an Autodesk Certified Trainer around real project files rather than isolated command lists. If you’re already comfortable in AutoCAD and want to extend those skills into Revit and BIM workflows, the combined Revit and AutoCAD training covers both in one structured path. Download the practice files, work through the gradient exercises on your own boundary shapes, and check your first plotted sheet against the troubleshooting steps above before you call it done.
Sources
For official reference, consult Autodesk’s Gradient Tab documentation and the GRADIENT command page. For a hands-on walkthrough, follow CADtuto’s gradient fill tutorial and practice on a sample DWG with a mix of closed polylines and regions.
Recommended
Comments