
Classroom Proven Revit Phases: 3 Checks That Fix Filter Failures
- Steve Fagan

- 2 days ago
- 9 min read

Revit phases track when an element exists, when it gets demolished, and how it should render in a given view, using two properties (Phase Created and Phase Demolished) plus Phase Filters that control graphics. The core best practice: keep demolition as an activity inside New Construction rather than creating a separate Demolition phase, and let Phase Filters plus the view’s Phase property do the work of generating demo, existing, and proposed drawings from one model. The sections below cover setup, filters, schedules, and the pitfalls that trip up most teams.
TL;DR:
Keep demolition activities within the New Construction phase rather than creating separate demolition phases to simplify model management and view generation.
Use the default phases of Existing and New Construction for most projects and only add extra phases for clear procurement or occupancy milestones.
Verify element phase properties before adjusting filters, as misassigned phases are the primary cause of incorrect phased display rather than filter settings.
Organize views by duplicating them for each phase with clear, consistent naming and build phase-specific schedules to avoid confusion in documentation.
Coordinate linked models by setting attach phase mapping to ensure linked elements display correctly across all phases, and standardize phase names across teams to prevent inconsistencies.
Table of Contents
What do phase status and phase properties actually mean?
Every element in Revit carries two properties: Phase Created and Phase Demolished. Together with the phase assigned to a view, these determine an element’s Phase Status, which Revit reports as New, Existing, Demolished, or Temporary.
Here’s how that plays out in practice:
An element with Phase Created set to Existing and no Phase Demolished value shows as Existing in any view set to that phase or later.
The same element, once demolished in a later phase, shows as Demolished in views set to the demolition phase, and disappears entirely from views set to phases after that.
An element created and demolished within the same phase (common with temporary shoring or protection) reads as Temporary.
Anything created in the current view’s phase with no demolition record shows as New.
That combination, phase created, phase demolished, and view phase, is the entire logic engine behind every phased Revit drawing you’ll ever produce.
How do you create and manage project phases?
Revit ships with two default phases, Existing and New Construction, and most renovation projects genuinely don’t need more than that. Add phases only when you have a real reason: distinct procurement packages, phased occupancy, or a multi-year build where tracking intermediate states genuinely matters to the client or contractor.
To add or edit phases:
Go to Manage > Phasing > Phases to open the Phasing dialog.
Select an existing phase row, then click Insert Before or Insert After to add a new phase at that point in the sequence.
Rename the new phase to something specific to your project (avoid generic labels like “Phase 3” if you can describe what actually happens there).
Review the order carefully before moving on. Phases are strictly sequential and cannot be reordered once created, so getting the sequence right the first time saves a painful rebuild later.
Pro Tip: Plan your phase names and view naming conventions on the same day. If your phases are named “Existing,” “Demo,” and “New Construction,” name your views to match and sort alphabetically in the same order. A mismatched naming scheme is the single biggest source of confusion on shared, phased projects.
What are the default phase filters and how do you use them?
Phase Filters decide which combination of New, Existing, Demolished, and Temporary elements actually renders in a view, and how they render. Revit ships with several built-in filters:
Show Demo + New: displays both demolished and new elements, useful for a combined “work” view.
Show Previous + Demo: the standard demolition plan filter, showing what existed plus what’s being removed.
Show Previous + New: the standard proposed plan filter, showing existing conditions plus new work.
Show New: isolates only newly created elements.
Show Complete: shows the finished condition as if demolished elements never existed.
None: hides everything regardless of phase.
Show All: displays every element in every status, mostly useful for QA checks.
Set a view’s filter through the Properties palette (Phase and Phase Filter fields), and fine-tune how each status renders through Manage > Phasing > Graphic Overrides, where each status can be set to By Category, Overridden with its own line weight and pattern, or Not Displayed. A typical demolition plan runs View Phase: New Construction with Show Previous + Demo; a proposed plan runs the same phase with Show Previous + New.
How do you edit phase properties without breaking the model?
New elements automatically inherit the current view’s phase as their Phase Created value. That’s convenient until you forget to switch phases before modeling and end up drawing existing walls as new construction.
Override an element’s Phase Created or Phase Demolished directly in its Properties palette, under the Phasing group.
The Demolish tool (the hammer icon) writes a Phase Demolished value automatically; running it again on the same element reverses the demolition.
Watch for hosted elements: demolishing a wall carries consequences for any hosted doors or windows, so demolish hosted elements selectively if you want to preserve them or control infill separately.
Rooms are phase-specific by nature. A room placed in Existing won’t automatically appear in New Construction views unless you place a new room instance there.
Pro Tip: If an element shows up in the wrong status, check its Phase Created value before you touch the filter settings. Nine times out of ten, someone modeled in the wrong active phase, not a filter misconfiguration.
How should you organize views for a multi-phase project?
Duplicating views per phase, rather than juggling filters on a single view, keeps documentation predictable and easy to hand off.
Right-click the base floor plan and choose Duplicate View > Duplicate with Detailing for each phase you need to document.
Rename each duplicate clearly: “Level 1 - Existing,” “Level 1 - Demo,” “Level 1 - New.”
Set each view’s Phase and Phase Filter to match its purpose in the Properties palette.
Build a view template for each phase type so every future duplicate inherits the correct settings automatically, a habit S15Studio’s training emphasizes early because it prevents the single most common phasing error: a duplicated view that silently keeps the wrong filter.
Name views so they sort logically in the Project Browser, and resist the urge to duplicate a view for every possible combination. A well-organized browser with consistent naming stays manageable even on a large renovation with dozens of sheets.
What does a demolition-to-new-construction workflow look like?
Here’s the sequence most renovation projects actually follow, start to finish:
Open (or create) the demolition plan: View Phase set to New Construction, Phase Filter set to Show Previous + Demo.
Select the elements being removed and run the Demolish tool. Revit writes a Phase Demolished value on each selected element.
Verify the change by checking the element’s Properties palette. Phase Demolished should now show the correct phase.
For walls with hosted doors or windows, decide whether to demolish the host only or the hosted elements too. Demolishing just the host without addressing hosted components leads to floating door tags in later views.
When a phase filter “doesn’t behave,” the fix is almost never the filter itself. Check three things in order: the view’s Phase property, the element’s Phase Created and Phase Demolished values, and the Graphic Overrides setting for that status. One of those three is almost always the culprit.
How do you build phase-specific schedules?
Schedules respect phasing too, and splitting them by phase prevents a lot of contractor confusion on renovation jobs. Assigning a schedule to a specific phase, or filtering it, keeps pre-demolition and post-renovation quantities separate instead of blending them into one confusing list.
Set the schedule’s Phase field (in the Fields or Filter tab) to the phase you want reported.
Build a pre-demolition door schedule filtered to Existing, and a separate post-renovation door schedule filtered to New Construction.
Avoid a single combined schedule that tries to show both states through a phase filter override. It technically works but reads poorly for contractors pricing demo versus new work separately.
How does S15Studio teach phasing in training?
Instructors see the same mistakes repeat across student projects, semester after semester, which is exactly why the classroom rule stays simple: demolition is an activity that happens inside New Construction, not a phase of its own.
Students build a phase-aware view template before touching a single wall, so every duplicated view automatically inherits the right Phase and Phase Filter.
Practice exercises walk through demolishing elements with the hammer tool, then producing a matched pair of pre and post schedules from the same model.
Readers who want to work through these exercises with feedback can start with the Revit worksharing course or the full Revit and AutoCAD training path.
How do phases interact with design options and worksets?
Design options and phases solve different problems, and mixing them up causes real confusion on complex projects. Design options let you model competing design alternatives within a single phase, think two different kitchen layouts under consideration for the same New Construction phase. Phases, meanwhile, track chronological states across time. You cannot assign a design option to span multiple phases; an option set lives entirely within whatever phase its elements were created in.
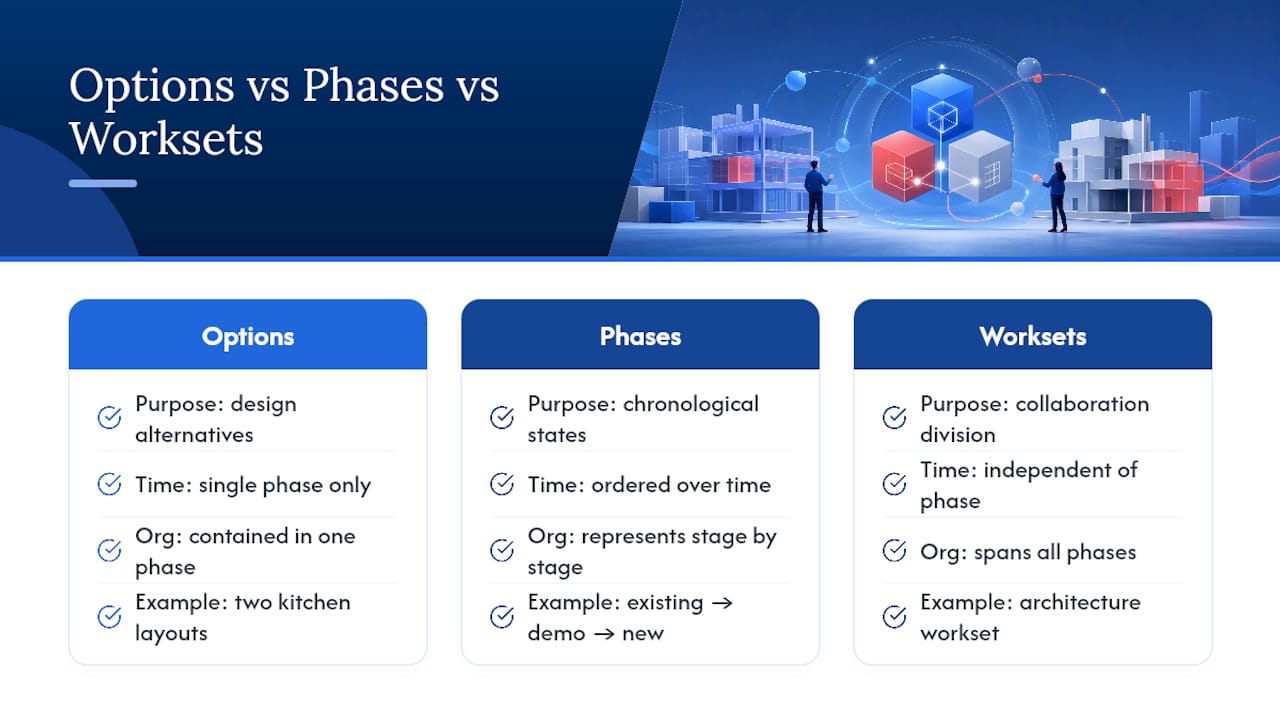
The practical implication: if you’re evaluating three renovation schemes for the same space, build them as design options inside the New Construction phase rather than as separate phases. Reserve phases strictly for genuine time based states, existing conditions, demolition, and the finished build, not for design alternatives.
Worksets behave more independently. A workset is a division of the model for collaboration purposes (structure, architecture, MEP, site), and it has no inherent relationship to phase. An element’s workset assignment and its Phase Created value are entirely separate properties, which means a single workset can, and usually does, contain elements from every phase in the project. This is useful: your architecture workset holds existing walls, demolished walls, and new walls all at once, filtered for display purely by Phase Filter rather than by workset visibility.
The one place these systems interact meaningfully is performance. On very large multi-phase, multi-workset projects, filtering views by both workset visibility and phase filter simultaneously can slow view regeneration. Keep view templates lean and avoid stacking unnecessary override rules on top of an already complex phase filter.
How do you coordinate phases across linked models and teams?
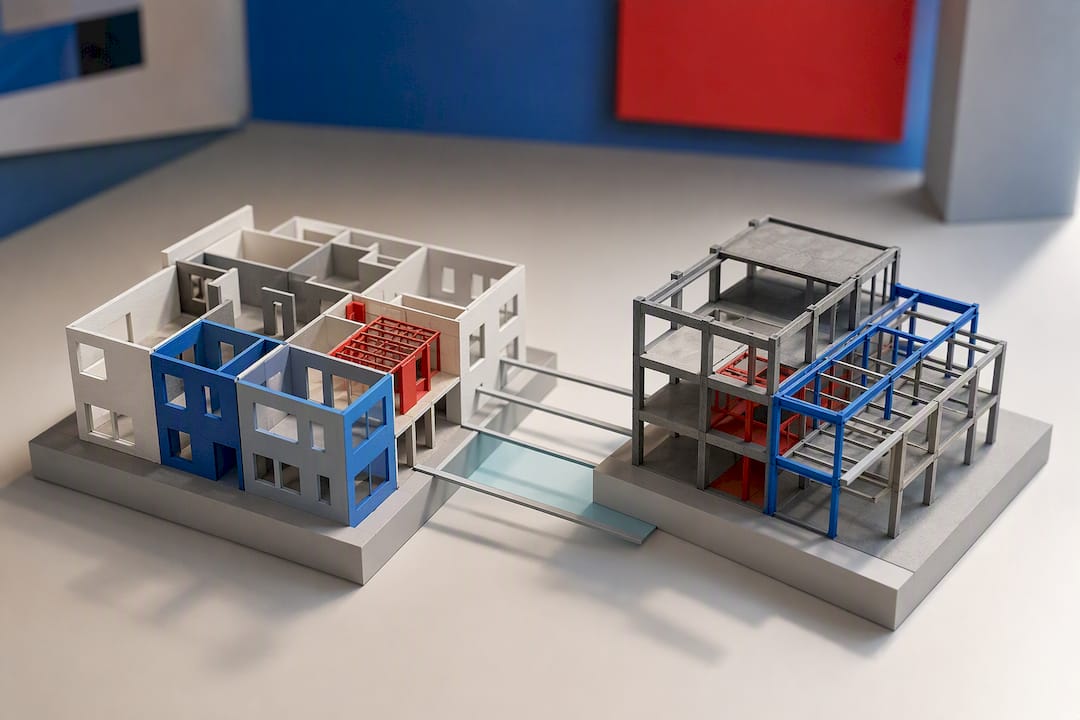
Linked models complicate phasing because a link brings its own phase structure into your host file, and the two don’t automatically align. When you link a consultant’s structural model, Revit lets you assign that link an Attach Phase Mapping, matching the link’s phases to your host phases so a structural element demolished in their model shows correctly demolished in your composite view. Skipping this step is one of the most common coordination failures on renovation projects with separate architecture and structure files: the structural link shows every element as permanently “existing” regardless of what phase your view is set to.
For team coordination, agree on phase names and count before anyone starts modeling. A structural engineer working from a different phase list than the architect produces a linked model that never quite matches, forcing manual reconciliation at every coordination meeting. Circulate a short phasing standard at project kickoff: exact phase names, in order, and which filter each discipline should default new views to.
Worksharing adds another layer. On a shared, workshared model, anyone can create a new phase, and because phases can’t be reordered once inserted, an accidental or premature phase insertion is hard to undo cleanly. Lock down phase creation to a BIM manager or project lead rather than leaving it open to the whole team, and document the agreed phase list somewhere outside the model itself, so a new team member joining mid-project doesn’t have to reverse-engineer it from the Phasing dialog.
When should you keep phases simple versus splitting them out?
Two phases handle the overwhelming majority of renovation work: Existing and New Construction, with demolition treated as an activity rather than its own phase. Reach for additional phases only when there’s a genuine reason a stakeholder needs to see, distinct procurement packages, phased occupancy where tenants move in while other floors are still under construction, or a multi-year build with real intermediate milestones worth documenting.
Every extra phase multiplies your view count, schedule count, and coordination surface. Before adding one, ask whether a phase filter variation or a design option would capture the same information with less overhead. If the answer is yes, don’t add the phase.
— Steve
Practice Revit phasing with guided exercises from S15Studio
Reading about phase filters is one thing. Setting up a clean demolition-to-new-construction workflow under a deadline, with hosted elements, linked structural models, and a project team watching, is another. S15Studio’s course library builds that muscle memory directly, with project-based exercises instead of isolated tutorials.

If you’re newer to Revit and want the fundamentals solid before tackling phasing, the Revit introduction for beginners covers the interface and properties you’ll lean on constantly. If you’re ready to work through phasing, view templates, and phase-filtered schedules directly, the complete Revit and AutoCAD training path includes hands-on exercises with trainer feedback and certification prep built in. Teams coordinating phased projects across multiple users should look at the Revit worksharing course for the collaboration side of the equation. Pick the course that matches where you are now, and start the next module today.
Sources
Recommended
Comments